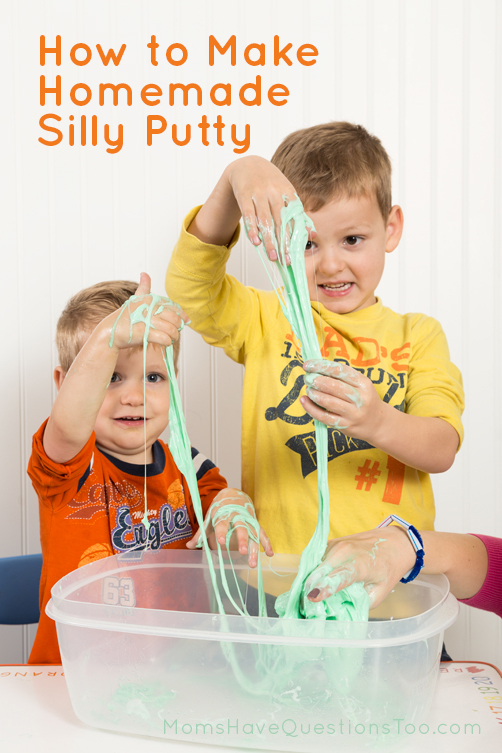
What is a fun sensory material I can make with my kids that will teach them about solids and liquids?
I am so excited to bring you another fun science post for this week’s Science Saturday. This week we made some homemade silly putty and I knew it would be the perfect science activity to teach about liquids and solids.
I started by giving each of my boys an ice cube inside of a bowl. Then I talked about how solids are things that are hard like the ice cube. I named a bunch of solids (chair, counter, ball, etc.). Then, I asked them to look inside of their bowl and tell me what they saw. Of course they saw some water. I told them water was a liquid and that liquids are runny and can move around easily. We then named a few liquids (milk, juice, oil, etc.).
I then gave Little Bear some worksheets about solids and liquids to practice what he knew. You can download these free worksheets here.
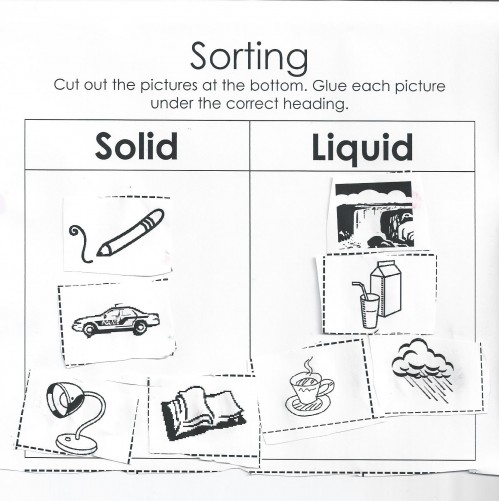
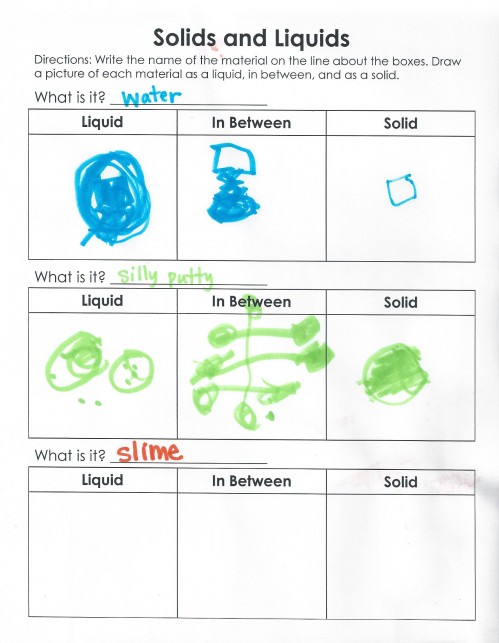
He did the sorting page first, then he did the drawing page. I had him draw the ice cube as a solid, in between, and as a liquid. Next, I told my boys we would be making something that starts as a liquid and then turns into a solid. They were pretty intrigued by this. ;)
Homemade Silly Putty
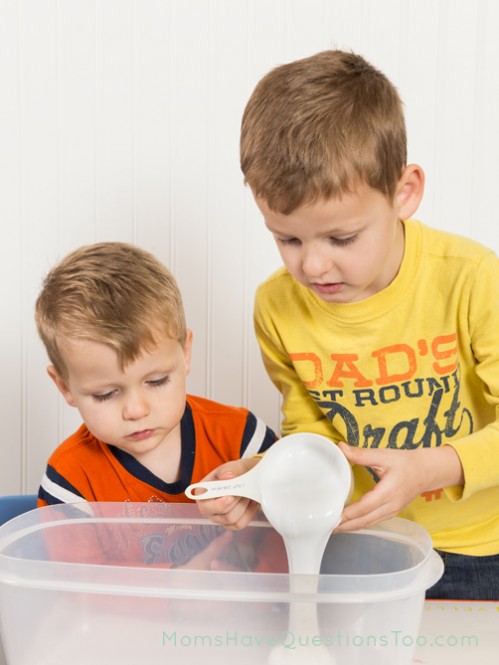
First, put equal parts Elmer’s school glue and Sta-Flo liquid starch into a container. I originally did two parts glue to one part liquid starch, but after experimenting, equal parts of each makes a much better end product. And yes, the brands of glue and liquid starch are important. They are both pretty cheap, so it shouldn’t be too hard to get the right brands.
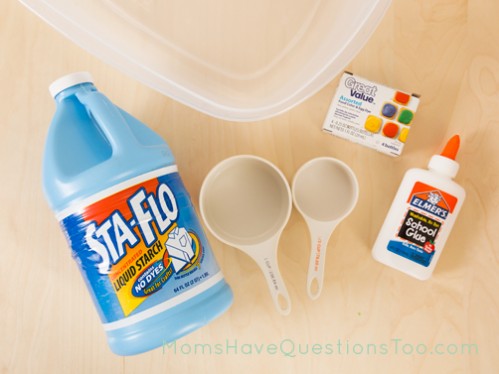
We did one cup of glue and one cup of liquid starch. Then, I dropped some green food coloring on the liquids. I think I did about 8 drops.
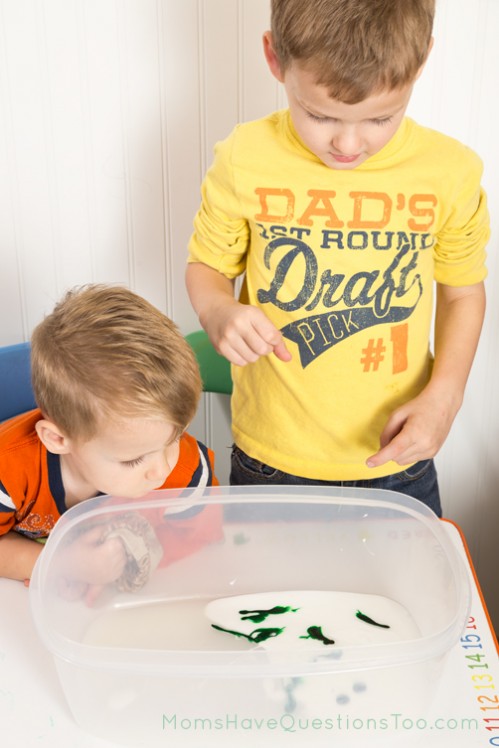
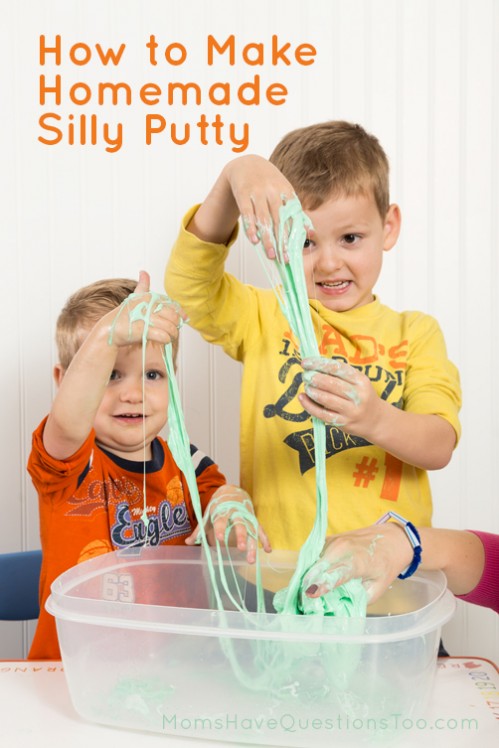
Next, we all stuck our hands in and started smooshing and mixing and squishing. When I put my hand in I immediately remarked how slimy and nasty the mixture felt. Little Bear quickly agreed with me. You can see that he did not exactly enjoy mixing up the silly putty. ;) He stuck with it though and pretty soon the mixture turned much more solid. The in between stage is very slimy and stringy. Little Bear and I thought it was gross, but Smiley Man loved it.
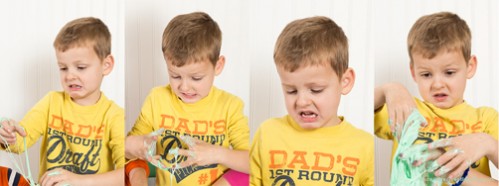
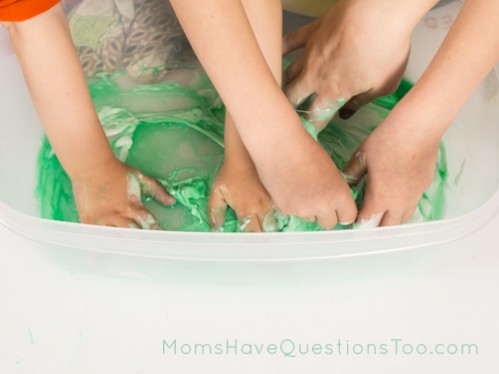
Once the mixture became more solid the boys enjoyed it much more. Little Bear was still a little apprehensive, but Smiley Man loved playing with it. I never guessed it would make for such a fun sensory material. They were in awe of the texture and how two liquid ingredients could make a solid.
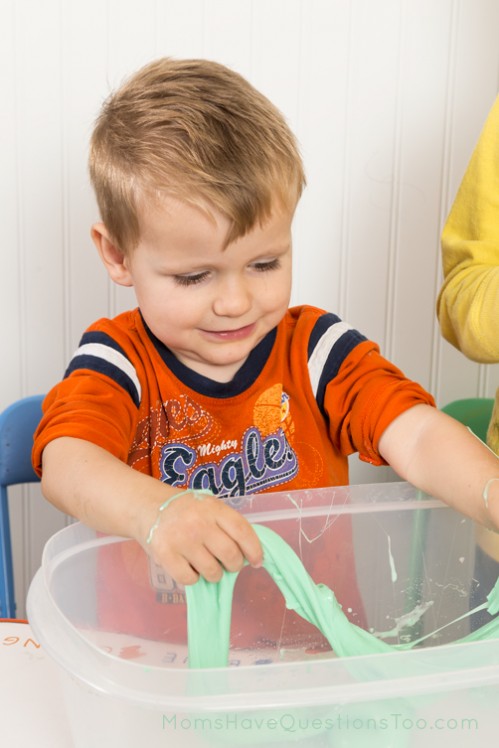
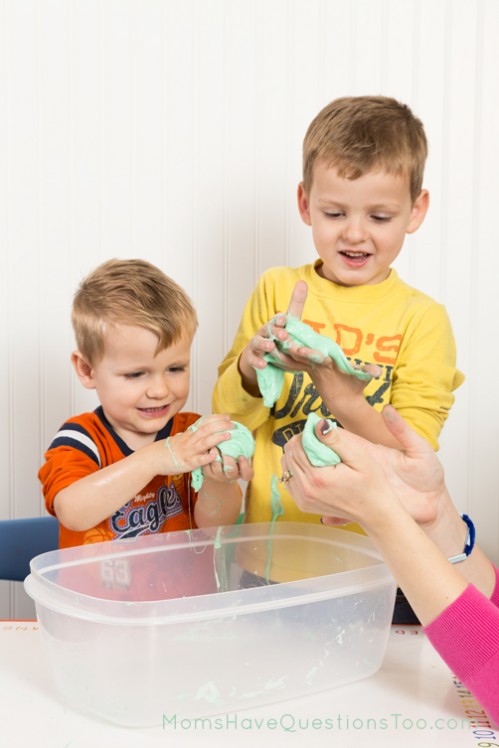
Here is a free printable recipe to make your own homemade silly putty. This was such a fun activity for us. I hate messes, but honestly this one was so fun, it was totally worth it. Plus, Little Bear’s face alone made it worth it. :)
When we were done playing with the silly putty, I had Little Bear complete the drawings for the silly putty. He made sure to draw the dots of the food coloring in the first picture, the stringy in between texture in the second picture, and the fun solid in the third picture. For the final boxes, I definitely recommend the slime that Angela at Teaching Mama posted about today. I can’t wait to make the slime with my boys and it will be the perfect ending to our lesson on liquids and solids.
Don’t forget to visit the other co-hosts and to link up your own science activity.
- Angela from Teaching Mama
- Sarah from Little Bins for Little Hands
- Emma from P is for Preschooler
Rules for the Blog Hop:
- Comment on or share (pin, tweet, share on facebook, etc.) at least 2 posts
- Follow each of the hosts in some way (rss feed, pinterest, twitter, facebook, etc.)
- Family friendly science activities or theme related activities only
- Include button or a link to the linky party somewhere on your website
