How do I turn a piece of paper into a boat?
Today I am going to show you how to do an awesome pirate ship craft. It starts with an origami boat. Origami is a great way for kids to practice fine motor skills and spatial awareness. Paper folding seems to be a lost skill in today’s world. I am frequently surprised by how many kids are unable to make a simple paper airplane. If you give a child a fun project like this, he’ll be motivated to try origami even if it’s hard. (This craft comes from Project Kid: 100 Ingenious Crafts for Family Fun)
Origami Boat Directions
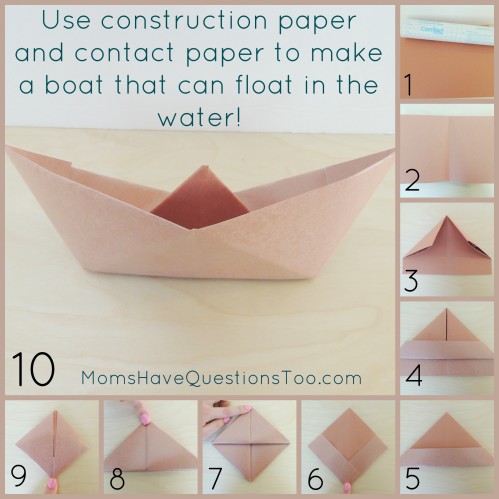
- Put contact paper on one side of the construction paper. This will allow the boat to float in water since the contact paper will block the water.
- Fold the paper once hamburger style and then a second time hamburger style. Make sure the contact paper is on the inside of the folds. Open the second fold so you can see the fold line.
- Fold the top right corner down to the middle of the paper. Use the fold line as a guide. Now fold the top left corner down to the middle of the paper and again use the fold line as a guide.
- Fold one flap of the bottom up and wrap the corners around the back.
- Fold the other bottom flap up and wrap the corners around the back.
- Open the bottom of the triangle and press the two bottom corners of the triangle together. Fold down to get a diamond shape.
- Take one flap on the bottom. Fold the bottom corner up to the top corner.
- Turn paper over and fold the other bottom flap corner up to the top corner. You will now have a triangle shape.
- Slightly open the bottom of the triangle and press the two bottom corners of the triangle together as in step 6.
- Grab the top flaps of the diamond shape and pull them out to create the boat.
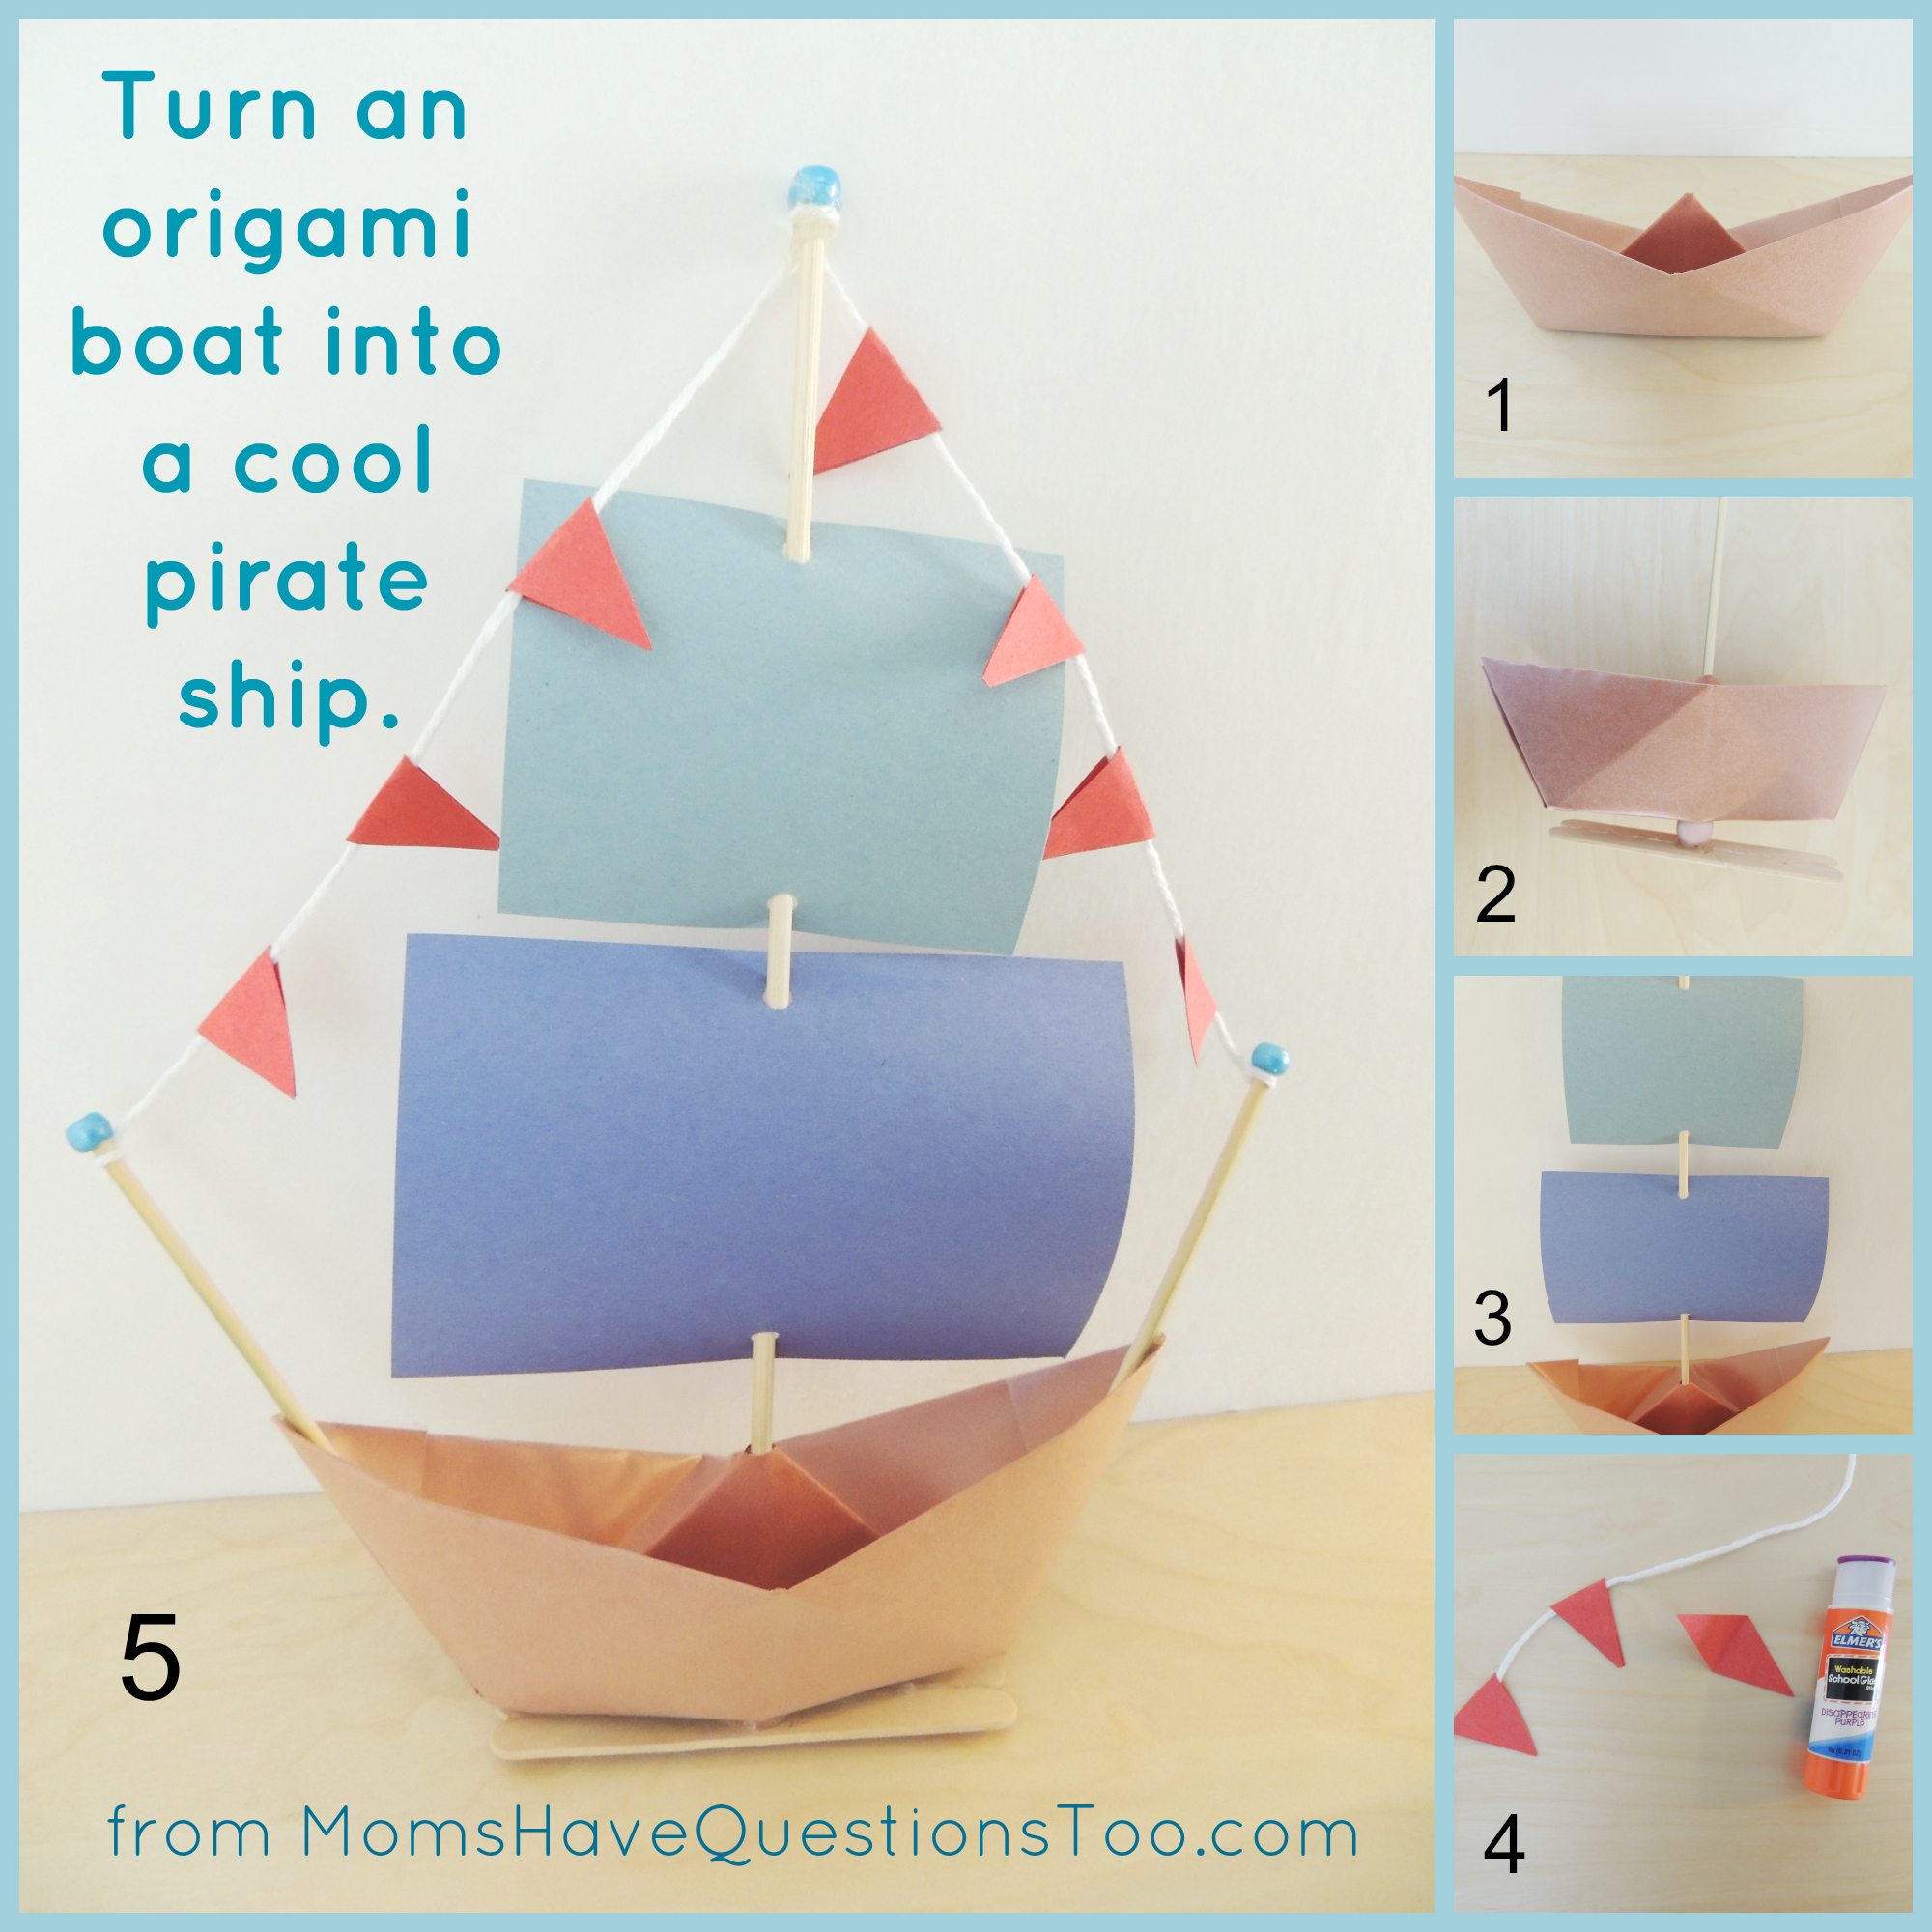
Now that you have an origami boat that can float on the water, turn it into a pirate ship with just a few simple steps.
Pirate Ship Craft Directions
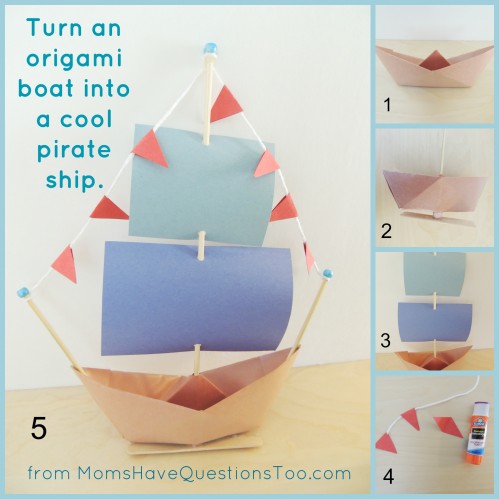
- Make an origami boat (steps above)
- Glue a large bead to a tongue depressor. Stick a wooden skewer through the bead and use a hot glue gun to secure. Make a very small cut into the middle part of the boat, then stick the wooden skewer up through the hole. The tongue depressor and bead should help the boat stand up.
- Cut two rectangles from construction paper. Use a hole punch to punch holes in the middle top and middle bottom of each triangle. Put rectangles onto the wooden skewer through the hole punched holes.
- Cut some paper flags from construction paper and glue them to a small length of yarn.
- Break another wooden skewer in half and secure each one to the edges of the boat. Use hot glue gun to secure. Add beads to the top of each wooden skewer and use hot glue gun to secure. Tie yarn with flags to the skewers.
My kids have had a blast playing with this pirate ship craft. This craft comes from a fun book called Project Kid: 100 Ingenious Crafts for Family Fun. I received this book for free in order to review it. If you liked this pirate ship craft and are interested in similar crafts, read my review below.
Project Kid: 100 Ingenious Crafts for Family Fun
This is a hardcover book that is full of fun craft ideas. I loved all of the beautiful pictures and tempting craft ideas. There are more than a few projects that I want to try with my kids. I’m a bad news first, good news second kind of person, so I’ll start with what I didn’t like about this book.
My only real complaint about this book is that I didn’t have the materials required for most of the crafts. I’m not a super crafty person, so I don’t have a huge collection of washi tape, scrapbook paper, double sided tape, or other craft materials that were included in this book. However, it wasn’t that hard for me to think of simple substitutions. For example, the pirate ship above was supposed to use scrapbook paper for the sails, but I used construction paper and it still turned out great. I was also supposed to use ribbon to hang the flags on, but since I didn’t have any, my yarn worked just as well. If you don’t have a lot of craft materials, but can think of substitutions, then this shouldn’t be much of an issue.
Things I loved
1. Step by Step Directions
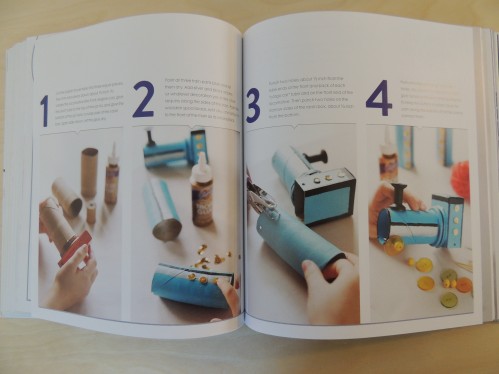
Now for the good news. I love the step by step directions in this book. They are not only clear and easy to follow, but they are also visually pleasing. I guess visually pleasing isn’t necessary per se, but it does make it a lot more fun to browse the different craft ideas.
2. Beautiful Pictures
3. High Quality Hardcover Book
4. Great Ideas for Both Boys and Girls
As a mom of all boys and one who isn’t great at crafts to begin with, I have such a hard time finding boyish crafts. Yes, I know boys can make flowers and necklaces, too, but my boys definitely don’t prefer those kind of things. Project Kid had some great craft ideas that my boys are way excited to try. Check out the pages below that are from Project Kid with boy and girl friendly craft ideas.
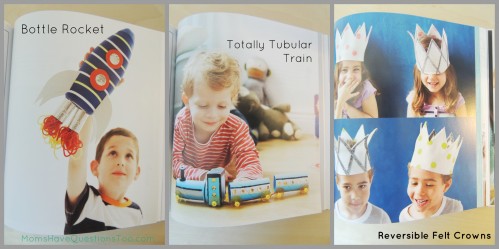
Overall, I am pleased with the quality of Project Kid. It has great ideas, beautiful pictures, easy to follow instructions, and the actual book is great quality. If you are in the market for a craft book for boys or girls, I do recommend Project Kid. What are some craft ideas your kids like best?
